Detailed Guide to Small Paint Repairs on Your Ford F-150
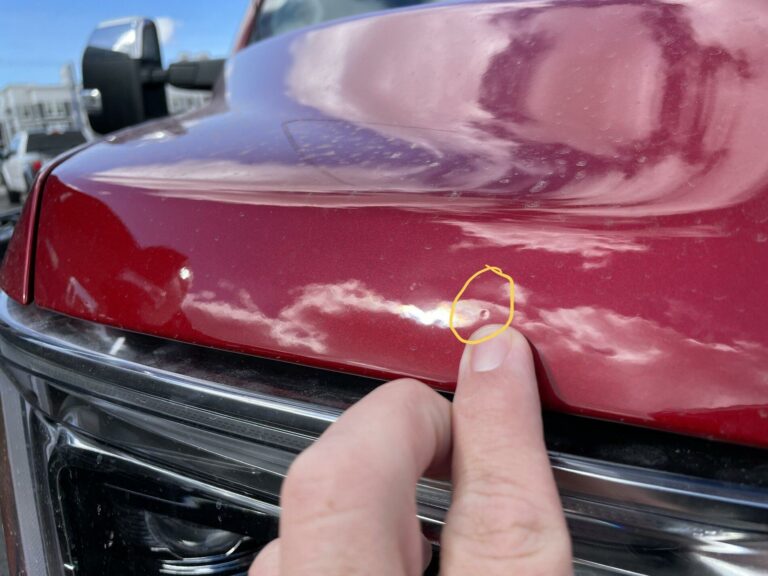
Owning a Ford F-150 is a source of pride, but wear and tear can lead to paint imperfections. Whether it’s a scratch from a branch or a chip from gravel, small repairs can easily be tackled at home with the right tools and products. Here’s an in-depth guide to help you restore your truck’s finish.
Tools and Materials You’ll Need
Before getting started, ensure you have the following tools and materials:
Essential Tools
Sandpaper (2000 grit): For smoothing the damaged area.
Masking tape: To protect surrounding paint.
Microfiber cloths: For cleaning and drying.
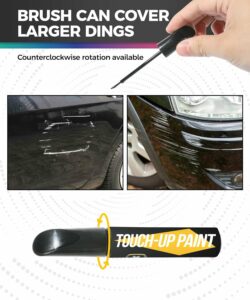
Paint applicator or fine brush: For precise application.
Recommended Products
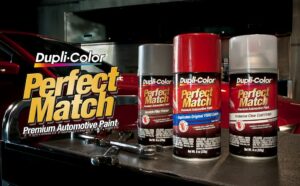
Automotive Touch-Up Paint: Choose a paint that matches your F-150’s color. Brands like Dupli-Color and Rust-Oleum offer a variety of colors.
Clear Coat Spray: Look for a high-quality clear coat such as Dupli-Color Clear Coat or 3M Clear Coat for a durable finish.
Wax and Grease Remover: Products like 3M Wax and Grease Remover help clean the surface before painting.
Polishing Compound: A product like Meguiar’s Ultimate Compound can help restore the shine after your repair.
Step-by-Step Repair Process
1. Identify the Damage
Carefully inspect the damaged area. Is it a minor scratch, a paint chip, or a scuff mark? Knowing the extent of the damage will guide your repair approach.
2. Clean the Area
Use wax and grease remover to thoroughly clean the area. This step is crucial for ensuring good paint adhesion. Apply the remover to a microfiber cloth and wipe the damaged spot and surrounding area.
3. Sand the Area
Gently sand the damaged area using 2000 grit sandpaper. Focus on feathering the edges to create a smooth transition between the damaged and undamaged paint. Take care not to sand through the base coat.
4. Mask Off Surrounding Areas
Apply masking tape around the damaged area. This protects the surrounding paint from accidental overspray and keeps your repair neat.
5. Apply Touch-Up Paint
Choose a high-quality automotive touch-up paint that matches your truck’s color code (found on the driver’s side door jamb). Using a paint applicator or fine brush, apply the paint in thin layers. Allow each layer to dry before applying the next one. Typically, two to three layers will suffice, but follow the product’s instructions for the best results.
6. Apply Clear Coat
Once the touch-up paint is completely dry, apply a clear coat over the repaired area. This will add protection and enhance gloss. Use the clear coat spray in light, even coats, allowing each coat to dry as per the instructions.
7. Polish the Area
After the clear coat has fully cured (usually 24 hours), use a polishing compound to blend the repair into the surrounding paint. Apply a small amount of compound to a clean microfiber cloth and gently buff the area in circular motions. This step helps restore the shine and smoothness of the paint.
8. Final Touches
Carefully remove the masking tape. For added protection and shine, apply a layer of quality wax, such as Meguiar’s Ultimate Wax or Chemical Guys Butter Wet Wax.
Tips for Success
Choose Optimal Conditions: Work in a cool, dry, and well-ventilated area. Avoid direct sunlight, which can cause the paint to dry too quickly.
Follow Instructions: Always adhere to the instructions on the paint and clear coat products for best results.
Practice Before You Start: If you’re new to touch-ups, practice on a less visible area or a scrap piece to get the hang of it.
Conclusion
With the right approach and quality products, small paint repairs on your Ford F-150 can be completed effectively at home. Not only does this maintain your truck’s appearance, but it also preserves its value. Regular upkeep will keep your F-150 looking as good as new, ready for whatever adventures lie ahead. So gear up, grab your tools, and get to work—your F-150 deserves it!


